Tube Style ABD/APD for Target Crossbows
|
PROBLEMS: |
| Documented here is a construction technique for an experimental APD for Bolts that will work with Target Style Crossbows. Please try this yourself with your own crossbows and help report the findings from using this. |
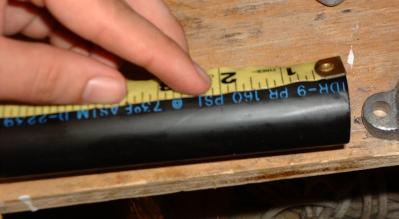 |
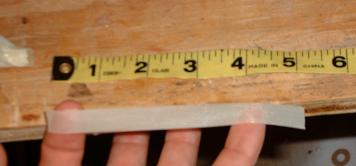
Step 1: Purchase some Siloflex tubing (ASTM-2239, 160psi, 1" inner diameter, polyetheline tubing). Mark a 2" section of it off. |
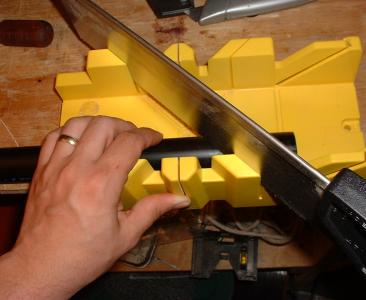 |
Step 2: |
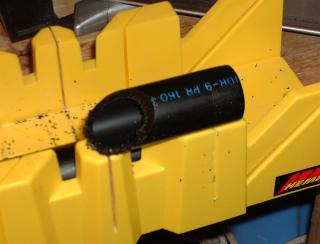 |
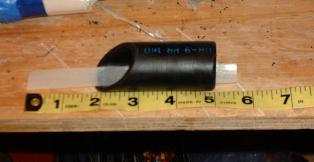
Step 3: The look of the finished cut. Note if you can (blurry picture) that there are rough edges all around. |
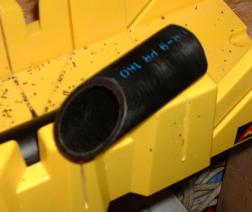 |
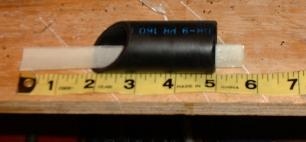
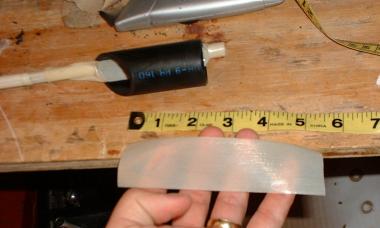
Step 4: Use a utility knife to carve the 'plastic fringe' away, as well as to round the edges of both the front & back ends. Use sandpaper to further make the edges nice and smooth. |
 |
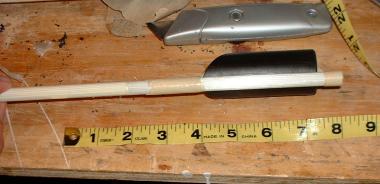
Step 5: Prepare a bolt for accepting the APD. This is a Markland style bolt which is completely wrapped in strapping tape, and has no fletches. [NOTE: Yes, this is a HUGE bolt. It is 3/8" thick fiberglass, and is about 20" from nock end to the back of the bolt head. The crossbow that I have to use these on has a VERY long draw (13"). I have plans to make a smaller version with the APD as well, I just had these laying around to try them on.] |
 |
Step 6: For reference, this is what one of the sister bolts for the same crossbow look like with 5" vanes. |
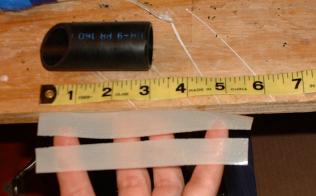 |
Step 7: Take two lengths of 3/4" wide strapping tape, at about 5.5" long. |
 |
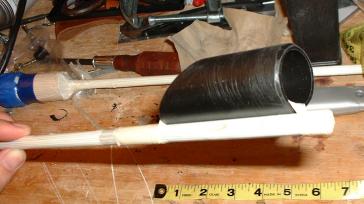
Step 8: Place one of these in the bottom of the tube, with a little bit more than 1/2" sticking out the back. (You do need a bit more than 1/2" because of the tape needing to go down the APD, to then hit the shaft.) |
 |
Step 9: Do the same with the second piece of tape, doubling up the strength of this strap. |
 |
Step 10: Attach this to the shaft, trying to make sure that the APD is 'basically straight' with the shaft. |
 |
Step 11 Cut a 5" length of 1/2" wide strapping tape. And wrap it longitudinally around the back end of the bolt, anchoring the piece of strapping tape going through the tube to the shaft. [NOTE: I think the important thing here is not the length, but that the shaft is encircled at least 4 times. 5" on my 3/8" shaft do it right at about 4 times.] |
 |
Step 12: Note the wrapped bolt end. Now cut a piece of 1.5" wide strapping tape, about 5" long again, and use this to wrap the front end of the APD's tape. Why so much more tape on the front? Because that's where it matters. The purpose of this is to stop the bolt from entering a helm backwards. With a good 1.5" wide wrap on the front, there is no chance of the APD moving forward much at all. |
 |
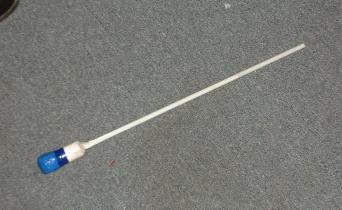
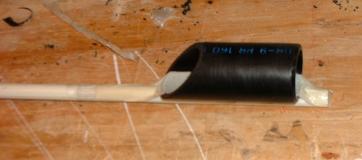
Step 13: Admire the finished product. |
 |
Step 14: The bottom view |
 |
Step 15: Up close back end view. |
 |
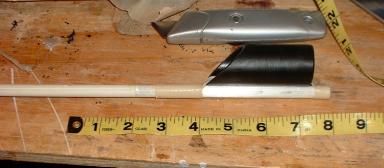
Step 16: The finished bolt sitting beside his sister. |
| Afterthoughts: I can pull/push/etc pretty hard on this guy, and it doesn't budge much. Yes, it will slide side to side a bit, but not enough to really seem to make a huge difference (might make a little difference on flight). It also will slide forward & back a bit, due to the thickness of the Siloflex, and the slightly hard task of getting it taped tightly, it doesn't slide more than 1/4" of an inch though. I think through great dilligence during initial taping, this can be avoided, you need to bring the tape out of the APD, STRAIGHT down the side of the APD and onto the shaft. Bringing it out at an angle is what allows this slight movement. |
|
Webbed by: Lord Siegfried Sebastian Faust (mka Eli White) (eliwhite@adelphia.net)